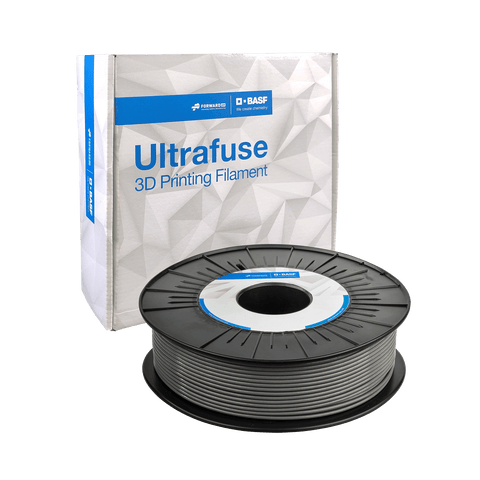
BASF 316L Stainless Steel Filament
Print 316L Stainless Steel On Virtually Any FFF Printer
The lowest barrier to entry system in Metal 3D printing. No huge initial investment of furnances, installation, argon gas tanks, solvent. All you need is your existing FDM 3D printer and BASF 316L stainless filament to produce solid stainless parts. Fully utilize the inherent advantages of FDM printing to your metal prototype and production capabilities as free detail. Automatic skeletonization using infill, and one-off custom efficiency
How Does It Work?
Print with BASF 316L
On your FFF printer
Purchase a 316L filament package and print your parts just like any regular print on your existing 3D printer.
See below for additional details, equipment requirements and printing guides.
Pack your parts
And complete worksheet
Packing your parts so they don’t rattle during shipping is very important. Bubble wrap each piece so they don’t rattle against each other.
Fill in the PROCESSING WORK SHEET.
Ship to DSH Directly, or your closest shop3d location for processing.
316L Processing
Debind and Sintering
Debinding is the process of dissolving the polymer binder from the metal powder using vaporized acids in a controlled environment.
Sintering is firing of the part in a furnace so the metals bond together to form a solid stainless part.
This process is fully handled by the processing facility and will provide a full report on the success or failure of the part sintering process.
Recieve your parts
And your sintering report
After debind and sintering, you’ll have your parts shipped to you right to your door Estimated time 2-5 Business days after D&S. A report will also be generated specifically for your parts to improve future prints.
316L Material properties
BASF 316L Stainless opens up opportunities previously unattainable with standard FFF printing with unprecidented part strength, heat and chemical resistance.
In General you can expect printed and sintered 316L to behave in exactly the same way as 316L stainless made in any other way with the added advantage of being able to produce complex FFF geometry at low cost without tool changes. You can mill, sand, grind, tumble and otherwise process the metal in the way you would expect to be able to process stainless.
DOWNLOAD
BASF 316L TECHNICAL DATASHEET

PRIMARY USES
- Jigs/Fixtures
- Prototypes
- Functional parts
- Tooling
- Medical components
- High temperature components
FILAMENT PROPERTIES
- Filament diameter 1.75 mm 2.85 mm
- Tolerances ±0.05 mm ±0.075 mm
- Roundness ±0.05 mm ±0.075 mm
- Bending radius 5 ± 1 mm 10 ± 3 mm
- Spool length 250 m 100 m
- Spool weight 3 kg + 3 %
| 1Specimen shape form E2×6×20 according to DIN 50125 2Undersized impact test specimen according to DIN EN ISO 148-1 |
 |
 |
|
| Print Direction | Standard | XY | ZX |
| Orientation | Flat | Upright | |
| Tensile Strength | DIN EN ISO 6892-11 | 561 MPa | 521 MPa |
| Yield Strength, Rp 0.2 | DIN EN ISO 6892-11 | 251 MPa | 234 MPa |
| Elongation at Break | DIN EN ISO 6892-11 | 53% | 36% |
| Impact Strength Charpy (notched) | DIN EN ISO 148:2017-052(2mm V-notch) | 111 J/cm2 | - |
| Vickers Hardness | DIN EN ISO 6507-1 | 128 HV10 | 128 HV10 |
Equipment Requirements
While you can use just about any FDM 3D printer to print 316L there are still a few special considerations to ensure the prolonged life of your printer and equipment. 316L contains Stainless steel metal powder which is significantly more abrasive on common brass nozzles than your standard PLA or ABS. At the absolute minimum, your printer should be equipped with a hardened nozzle intended for printing abrasives. A Ruby Nozzle or Stainless hardened nozzles is recommended. Your feeder wheel should also be hardened for the same reasons.
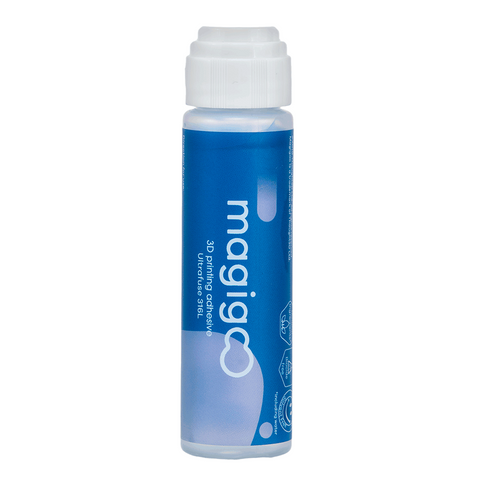
Adhesion to the bed can also be a challenge depending on your printer make and model. Dimafix is the recommended adhesion aid from BASF. This is an approved adhesive that works well paired with a glass bed that can reach up to 90C. DO NOT use other adhesion aids as they may contaminate the print, foreign, unapproved material can cause damage to the part or worse, the debind and sintering equipment. We do not recommend using PVA as soluble support at this time as it may introduce contaminants into the print.
Hardware Checklist
- FFF printer capable of 250C min
- BASF Ultrafuse 316L Filament
- Dimafix Adhesion Aid
- Magigoo Adhesion Aid
- Abrasive resistant nozzle (or spares)
- Heated Glass bed - 90C temperature Minimum
- D&S voucher
- Packing material + Box
Recommended (but not Required)
- Abrasive resistant Feeder
- Heated chamber
- Bearing Filament rollers
Need hardware recommendations? GET IN TOUCH WITH US!
Design & Printing
Guidelines
Not all geometries that can be printed on an FDM printer can be successfully sintered. There are some additional limitations to pay attention to. BASF has provided a comprehensive guide as to the design specifications you should adhere to for best results.
General Settings
- Nozzle temperature: 230 - 250C
- Bed temperature: 90C
- Print speed: 15 - 50 mm/s
- Bed temperature: 90C
- Bed material: Glass
- Adhesion Aide: Dimafix
- Nozzle size: 0.4 - 0.6
- Nozzle type: Ruby / Steel / Hardened
Printing Notes
Observe good standard FFF printing practics. Slower printing produces better parts. Any Flaws in your print will be accentuated in the final sintered part. So if you’re not happy with how it printed. Don’t send it out to sinter thinking it will fix the problem.
If using an Ultimaker, You can download the BASF 316L profile from the Cura marketplace to avoid the guesswork!
Sintering Shrinkage
Your part will shrink about 20% during sintering, so keep this in mind before you send your part to your printer.
As a general rule of thumb, you should scale your part on the XY by 20% and the Z by 26%. There are a few exceptions that you can study further in the deep dive.
Reach out to us if you have a complex part you’re unsure about!
Debinding & Sintering Details
Processing Voucher
Each voucher is valid for 1kg of 316L processing. If your shipment is greater than 1kg of green parts, you will need to purchase an additional ticket.
Return shipping is included in the cost of the voucher ticket.
Because of cross border shipping, we recommend you send your parts as early as possible to ensure that they arrive before the cuttoff.
D&S schedule (Timing and processing)
A Sintering run is done every 2nd and 4th tuesday of the month. Parts should arive on the friday before at the latest to be included in the batch.

Please see information from ForwardAM on the new processing service for 316L and 17-4PH Metal Filament Debinding and Sintering. Due to this change from the manufacturer, Shop3D is no longer selling the sintering coupons, please contact DSH directly for sintering options.
Metal Options
Every tool has it’s pros and cons, where does 316L stack up?
BASF 316L Filament
- Lowest barrier to entry
- Least expensive overall
- Very low initial investment cost
- Control of printing cycle
- Use your exisitng printer
- Longer turnaround time
- Shipping required
- Medium Learning curve
Desktop Metal Solutions
- Fastest turnaround time
- Full control over production cycle
- Production inhouse
- Initial investment prohibitive
- Facility requirements are high
- Service plan requirements
- Operating costs
Service Bureau
- easiest solution
- High cost
- No control over process
- Shipping required
Printer Recommendations
Every tool has it’s pros and cons, where does 316L stack up?
We recommend the Ultimaker S3, or Ultimaker S5 Series with a CC Red 0.6 print core. We’ve tested 316L with the S5 in depth and is by far the most prepared printer for the task with the shortest learning curve.
Download the ready made customized S5 Profile, no second guessing print settings.


