
3D Printed Kneepad in TPU 85A
3D printing has made innovation more accessible for a variety of industries. Aerospace, Automotive, Education and Manufacturing have all seen an increase in their efficiency due to the introduction of 3D printing technology into their workflow. Additive manufacturing allows for the creation of functional prototypes in-house at a lower cost than traditional manufacturing methods. These industries also benefit from better IP protection and a lower carbon footprint, as everything can be done on-location.
Enter Shop3D.ca, your dedicated Canadian resource for professional 3D Printing supplies. We help Canadian companies move into the modern era by providing everything they need to start additive manufacturing. With new parents in the office, children's safety has been on the mind. Our challenge was to prototype a new kneepad for toddlers, using 3D printing to create a series of prototypes at a low cost. Could we create a unique design that works? During the process we made many discoveries and breakthroughs which brought us to our final functioning prototype.

Print Settings: 0.2mm layer height / 10% infill / No supports / Skirt
For the first iteration, we took measurements and modeled out a basic shape which would fit a toddler’s knee area. The design was very simple, and is a thin rectangle with a slight bend in the middle. This version also has holes to allow for Velcro to pass through. Since this was the first iteration, it was printed in Ultimaker Black PLA for us to see how well the design can be printed. We chose PLA because it is a low cost, easy to print material that works well for most projects. This piece was printed on the Ultimaker S5 Pro system, one of our staple 3D printers.

Print Settings: 0.2mm layer height / 10% infill / No supports / Skirt
Print Settings: 0.1mm layer height / 10% infill / No supports / Enabled Brim
For the second iteration, we decided to widen the kneepad to fit it a little bit better, since it seemed a bit too thin. It was at about this time that we made the switch from Ultimaker PLA to TPU 95A, to test the flexibility and see how well the kneepad could function on impact. We chose TPU 95A because it's flexible, impact resistant and is able to print well with various support structures (for instance, you can use PLA!). The drawback is that TPU 95A doesn't work best for small features and frequent retraction, like in a grill or a sift. This made the TPU 95A slightly more difficult to print, but ultimately it came out well on the Ultimaker 2+ Connect when oriented on it’s side.

Print Settings: 0.1mm layer height / 10% infill / No supports / Enabled Brim
Print Settings: 0.1mm layer height / 10% infill / No supports / Enabled Brim
After physically checking our measurements compared to the toddler’s knee, we learned that our design was a bit too thin for a proper fit. We decided to widen the design even more to account for the toddler’s bohemian growth spurts. Once again, we printed this iteration in TPU 95A very easily on the Ultimaker 2+ Connect. TPU 95A has been tested and set up by Ultimaker and The Material Alliance, so you don't have to waste time trying different temperatures and speed settings. However it was at about this iteration that we realized the design does not account for movement very well, and we began to conceptualize a newer design which would make more sense.

Print Settings: 0.1mm layer height / 10% infill / No supports / Enabled Brim
Print Settings: 0.1mm layer height / 15% infill / No supports / Skirt
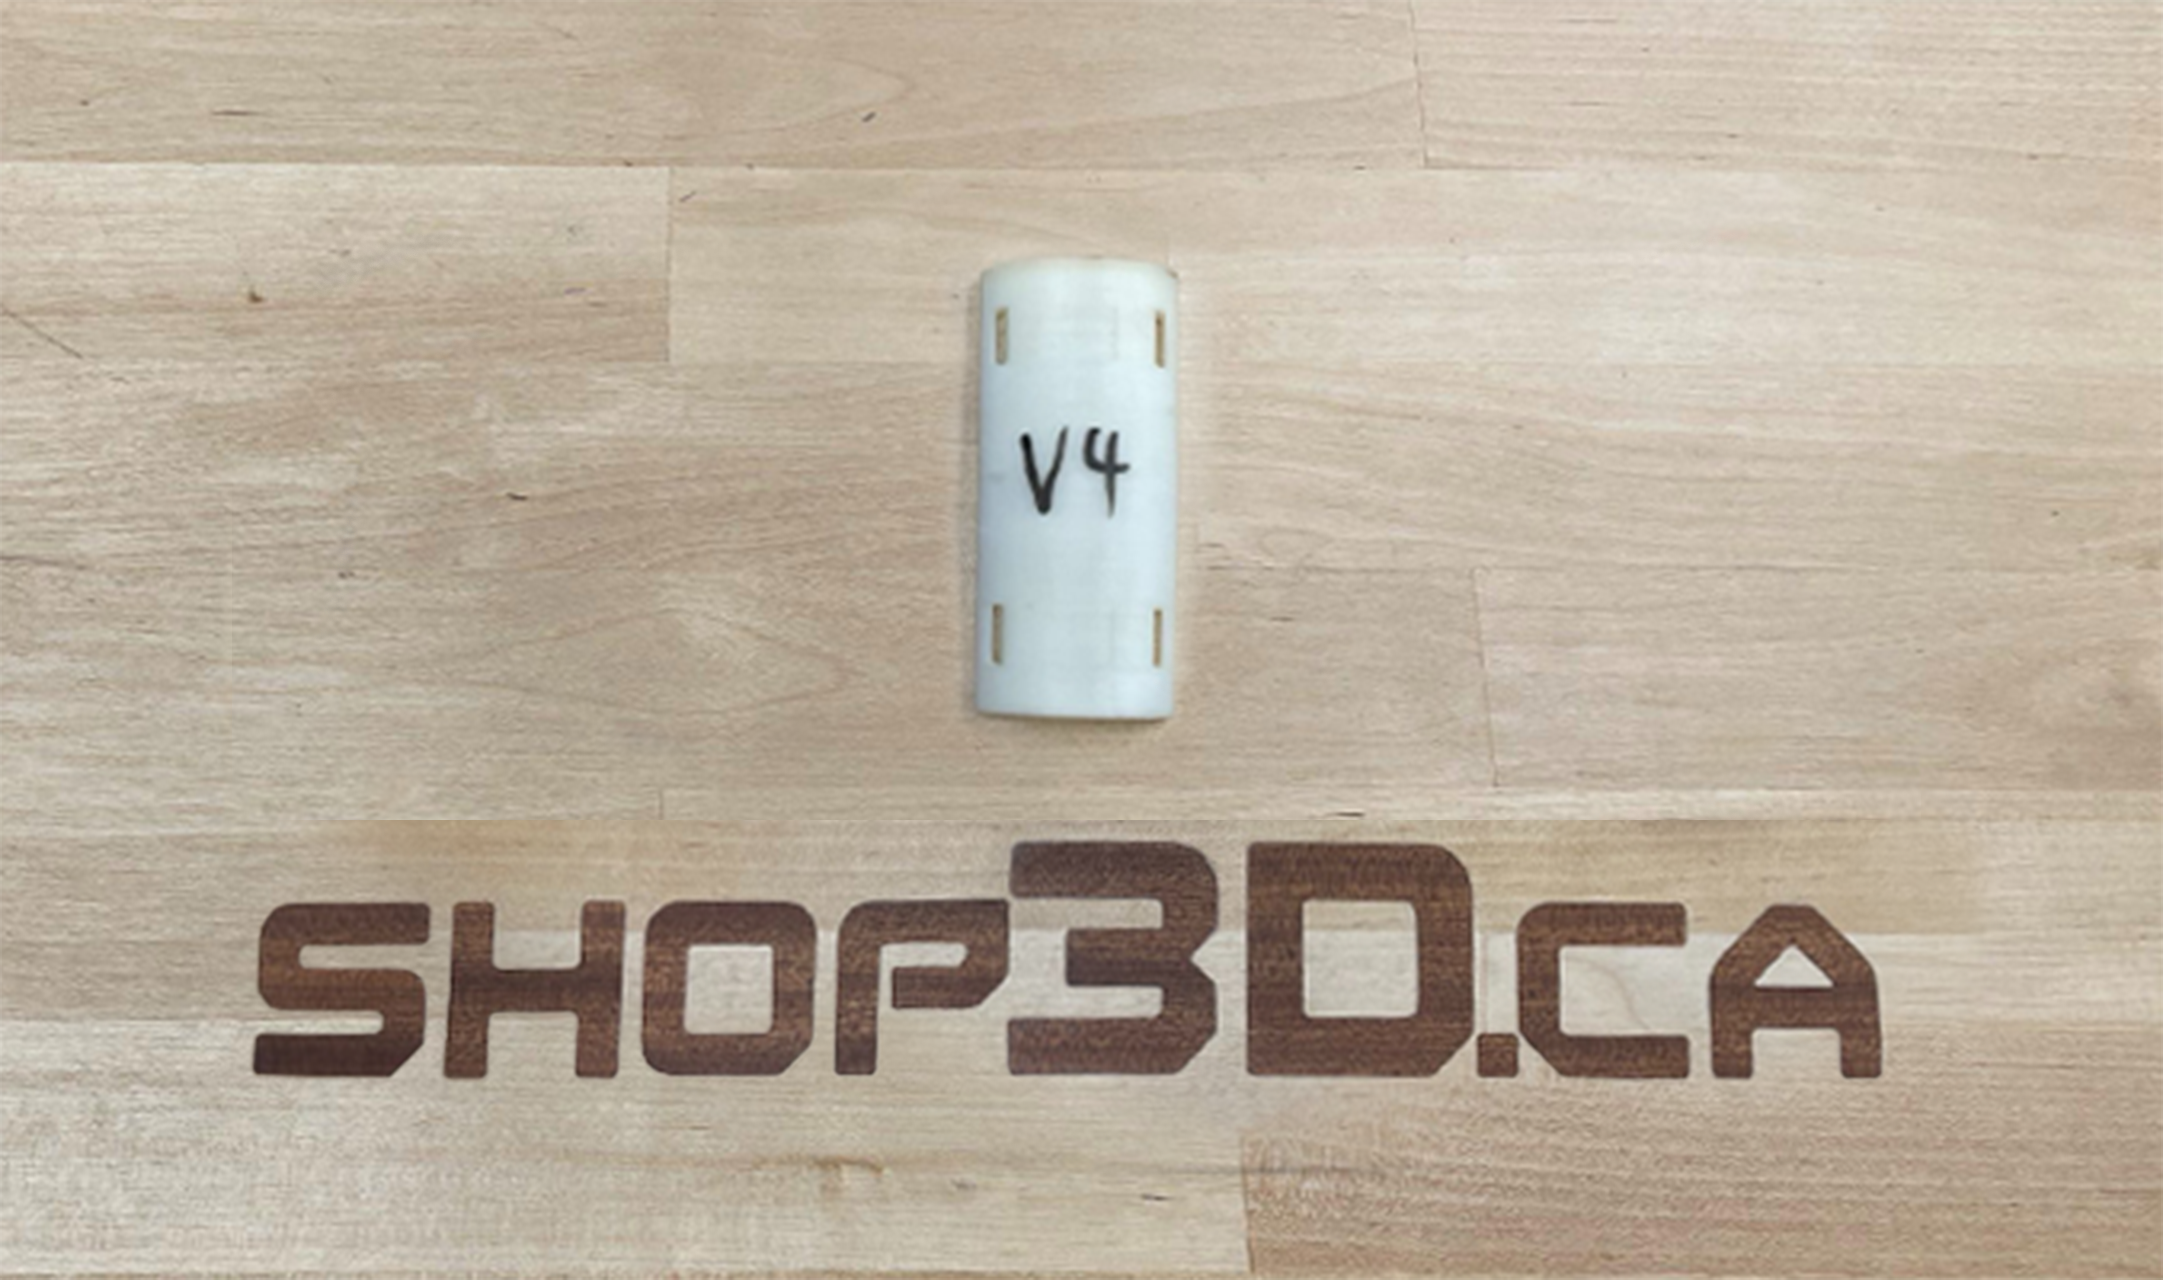
Upon further inspection, we discovered that the TPU was not as flexible as we needed for the kneepad to function correctly. For V4, we switched the material from TPU 95A to TPU 85A . The 95A and 85A in the names represent the Shore hardness of the material, meaning this material was even more flexible and suited our needs much better. Since we were working on a newer design to account for the bending of the toddler’s knee, for V4 we decided to switch to an older design, just to test the material and the best print orientation. Once again this print went very well when oriented on it’s side and was printed using the Raise3D E2 IDEX 3D Printer.
Print Settings: 0.1mm layer height / 15% infill / No supports / Skirt
Print Settings: 0.2mm layer height / 10% infill / No supports / Skirt
For this final prototype we implemented a new design where the kneepad is broken up into 3 main portions. One above the knee, one at the knee, and one below the knee. These parts work together in unison to protect the knee while allowing it to have the maximum range of motion possible. This was our final test before we assemble the kneepad as a whole. Since it was only for testing purposes, we chose to print this iteration in Ultimaker Black PLA once again. For the final, we decided we would cut a foam piece which will sit between the TPU 85A and the child’s knee. This forms an air cushion which allows for extra protection in the event of the toddler falling onto their knees.

Print Settings: 0.2mm layer height / 10% infill / No supports / Skirt

Print Settings: 0.1mm layer height / 2 Walls / 15% infill / No supports / Skirt / Assembled with Foam & Velcro
At this point we were happy with the fit and form of our design. We printed the final iteration in TPU 85A once more. Due to the design, this version was much easier to print and came out very well on the Raise3D E2 IDEX 3D printer. We then used a foam piece for the backing, and used a Snapmaker 2.0 A350 to laser cut the custom shape we needed for the kneepad (with added clearance). We then threaded the Velcro through the kneepad as well as through the backing in order to bring it all together.

Print Settings: 0.1mm layer height / 2 Walls / 15% infill / No supports / Skirt / Assembled with Foam & Velcro
With Additive Manufacturing, what might be a lengthy process involving coordinating with a manufacturer and the shipping of parts is reduced to waiting for your print to finish. This hands-on process allows you to rectify designs as needed, allowing you to move to production faster and not worry about supply chain issues during the testing phase.
Overall this project was a great testing opportunity for our team, allowing us to trial the design iteration process and work toward a functioning final product. Our biggest takeaway is that iterating was so easy, we didn't put the work into properly planning. We likely could have cut down on the number of iterations if we had a better concept for the end result. That's okay, we make these mistakes so you don't have to!
Choosing proper materials and print orientation are a key part of using 3D printers to create functional prototypes. If you're wondering what will work for your project: reach out to our technical team for some recommendations.
Also in News

Bambu Lab X2D launched April 2026 - Now Available For Pre-Order in Canada
With the recent refresh of their H and P series printers, we’ve been anticipating an upgrade of the X series printers, and it’s finally been announced. See what's new with the X2D and how it compares with the rest of the lineup.

eufyMake UV Printing Interactive Demo
Join us for the eufyMake E1 UV Printing Interactive Demo at Shop3D Mississauga.
Drop in from 11am–2pm to see how you can print full-colour, textured designs directly onto real objects. Whether you're a creator, business owner, or just curious, explore how UV printing can bring products, prototypes, and ideas to life.

Shop3D.ca at ADM Toronto (Advanced Design & Manufacturing Expo)
Shop3D.ca, Canada’s leading provider of 3D printing solutions, is proud to announce its participation in the Advanced Design & Manufacturing Expo (ADM), taking place October 21 – October 23, 2025, at the Toronto Congress Centre.
